Printing Your Custom ICC Printer Profiling Target
Colour Target Print - Mac - Colorsync Utility
This is a page from our Custom ICC Profile Service Instructions.
Please see the panel to the right for a guide through these instructions.
Note: This guide (and screenshots) are primarily tailored towards Epson printers (as that is what we use, recommend, sell and support). Some Canon printer specific caveats and process notes are available at the bottom of this page.
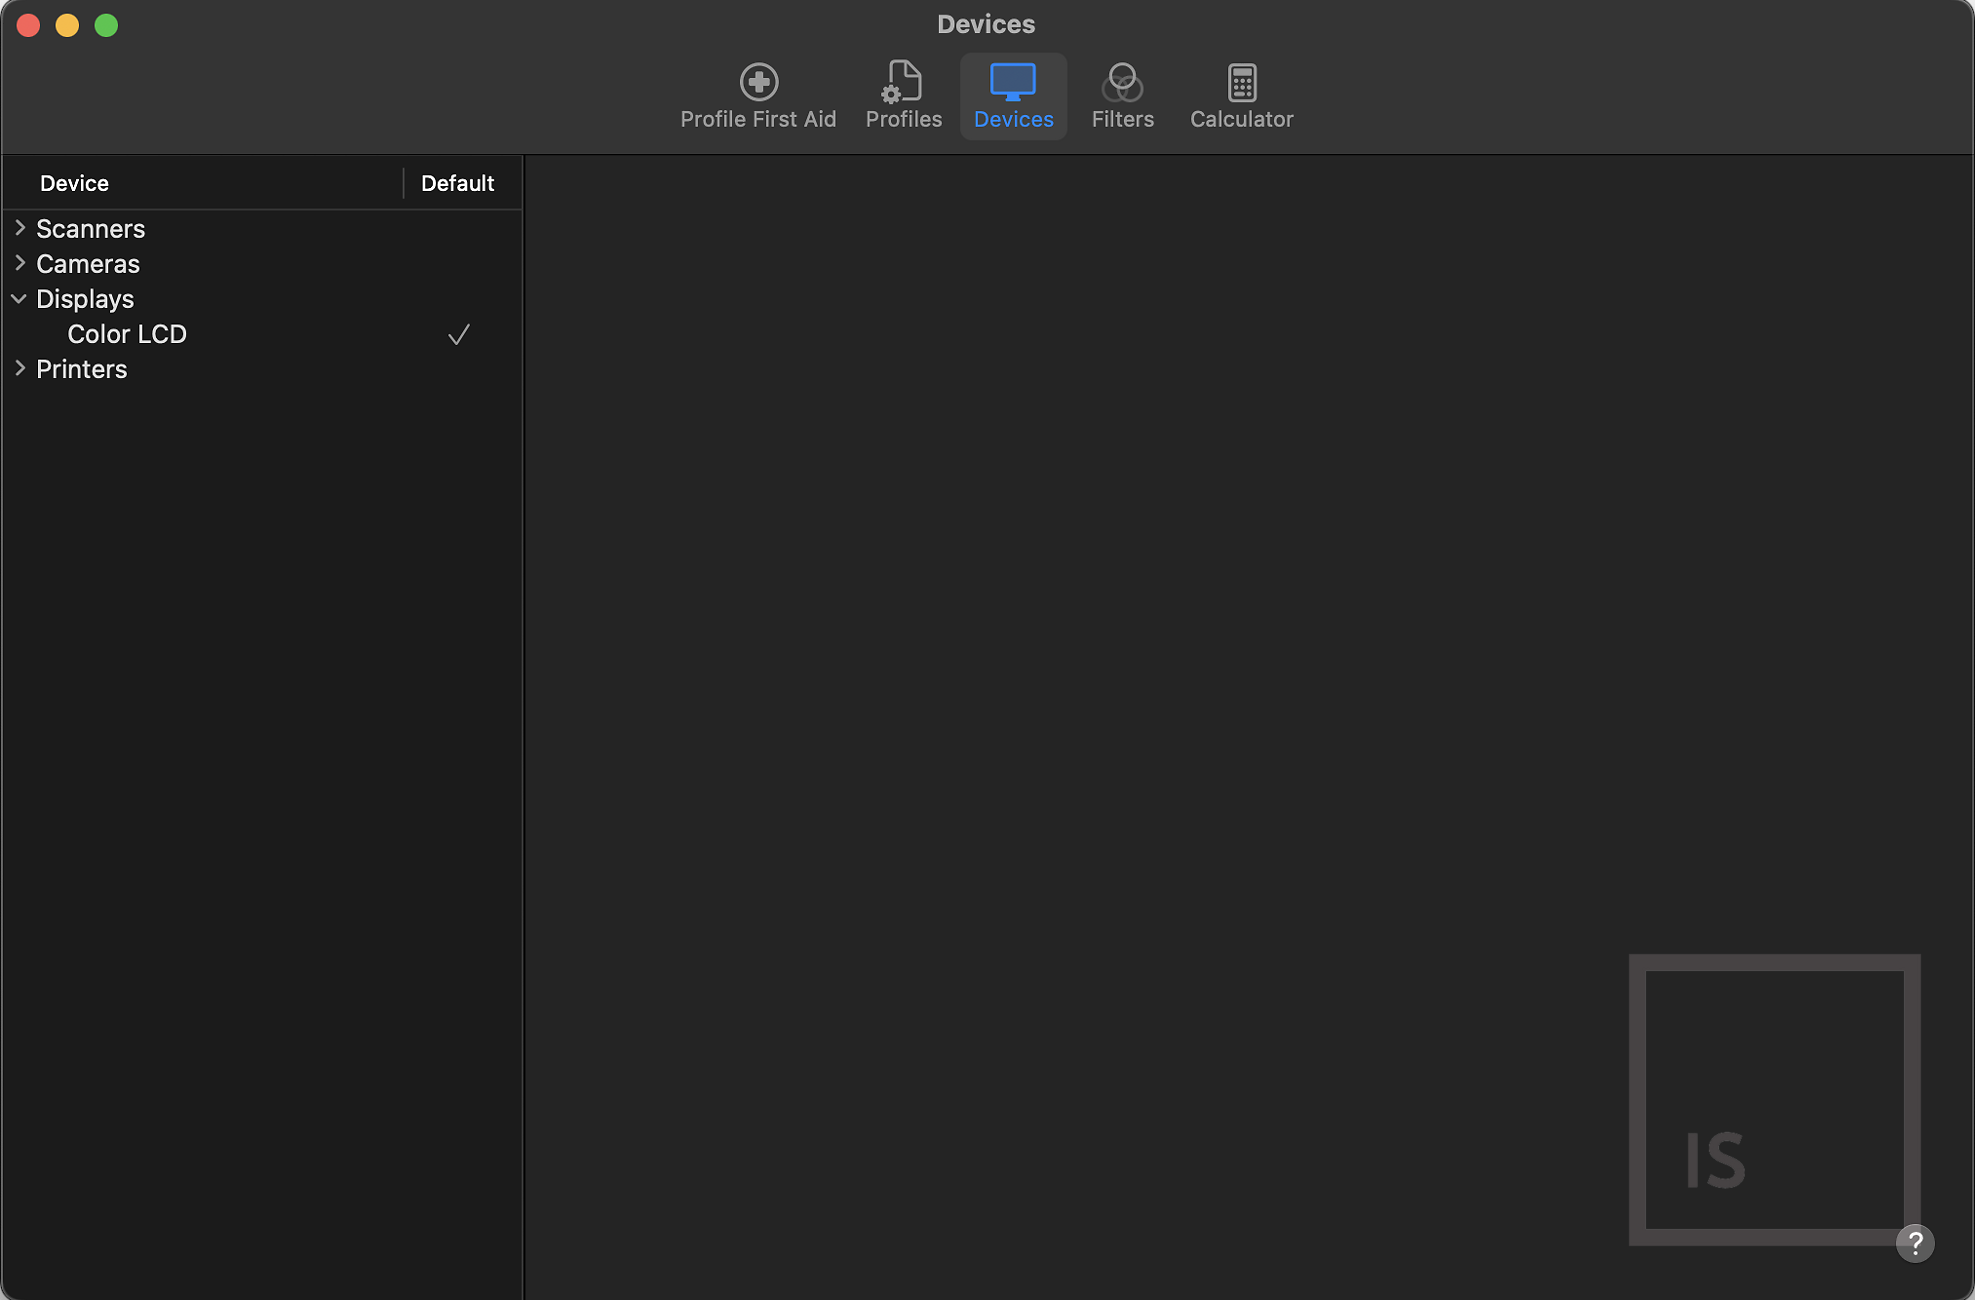
Opening and Starting
When you run ColorSync Utility you will be greeted with it’s standard window which will look something like this:
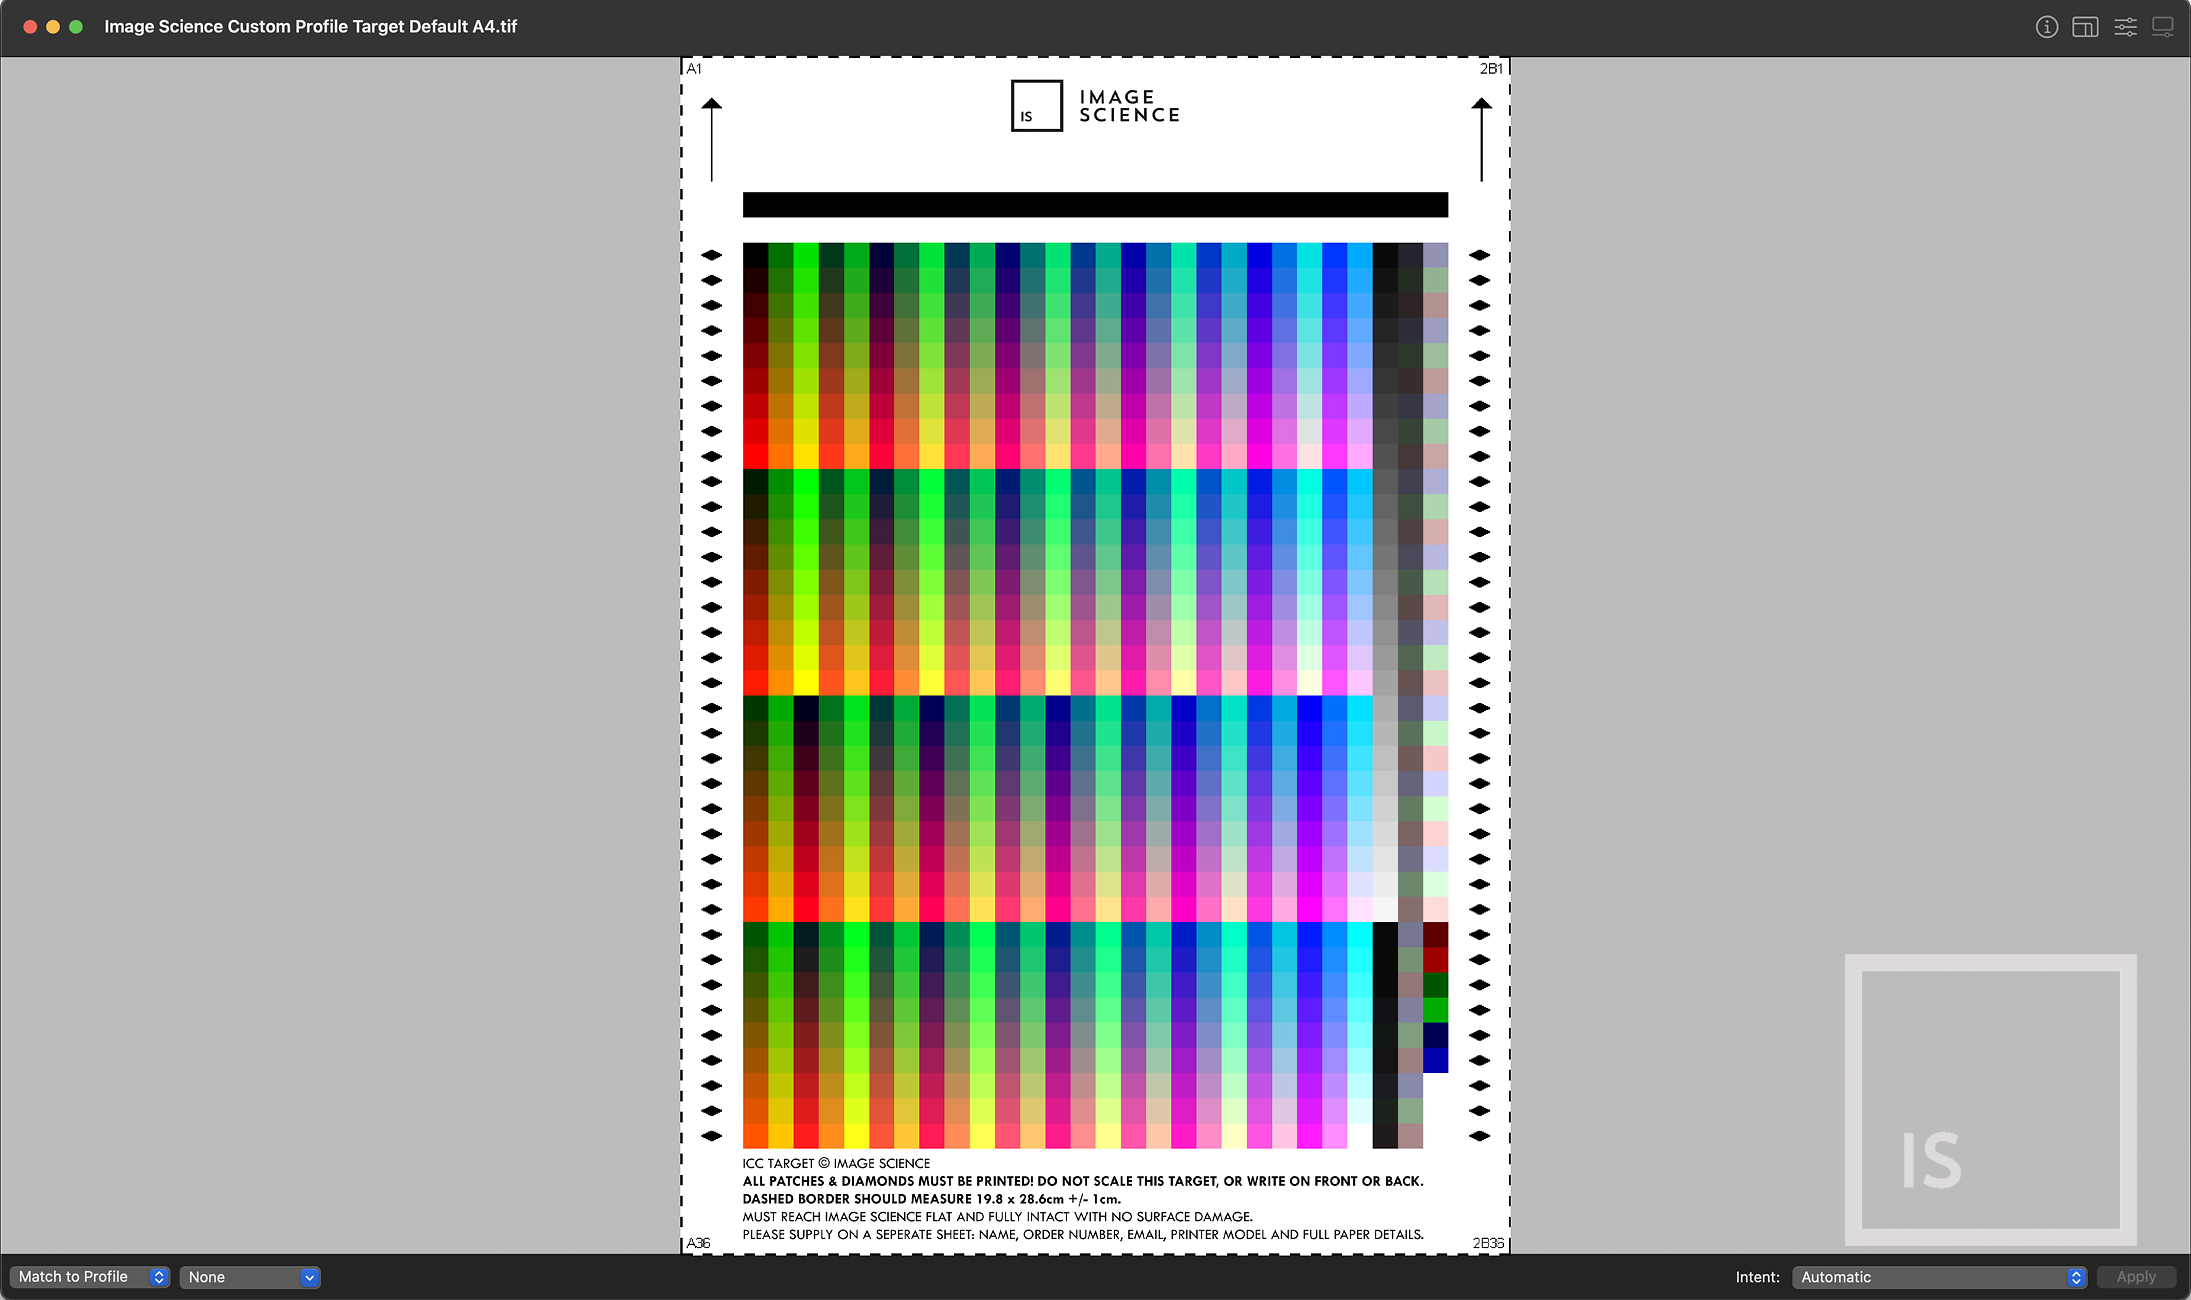
Go to the File menu and Select ‘Open’
Locate and select the Image Science target that you want to print, click Open.
You should see a window like this:
Print Options
From the File menu, click Print. You should see a window like this:
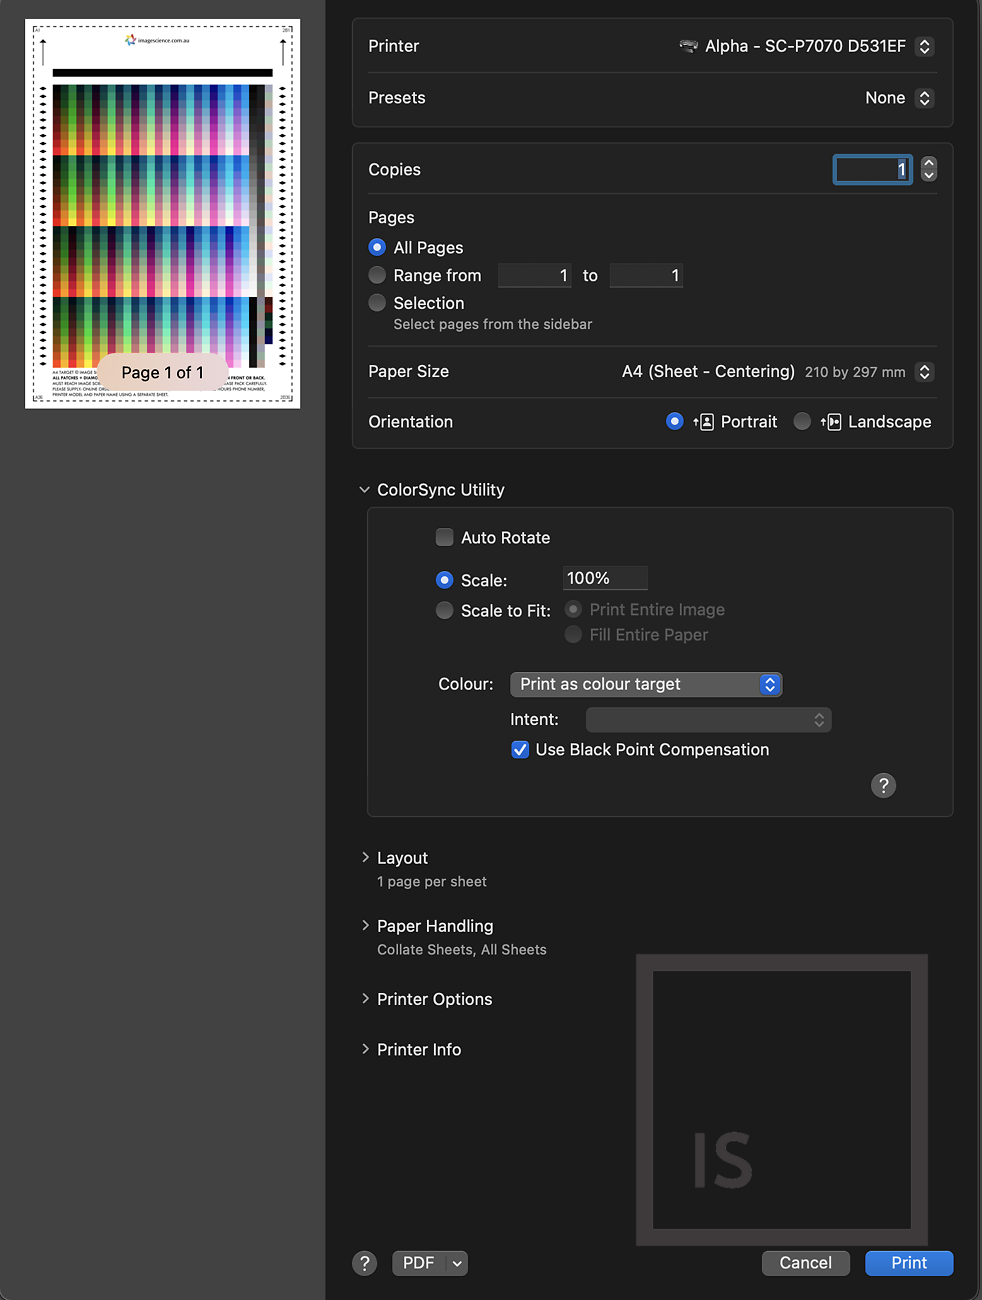
Under ‘Paper Size’ choose ‘A4’, and if it’s an option, choose ‘Sheet - Centering’.
Expand the ‘ColorSync Utility’ section using the small arrow if it’s collapsed.
Your scaling should be manually set to 100% (or 99% or 98% - you want it just before the dashed line clips).
Set ‘Colour’ to ‘Print as colour target’ (if this is greyed out, see the below note about this).
‘Use Black Point Compensation’ - if this is an enabled option then it should be ticked, but if this is greyed out then do not worry, leave it unticked and proceed as is.
Scroll down and expand the ‘Printer Options’ section like this:
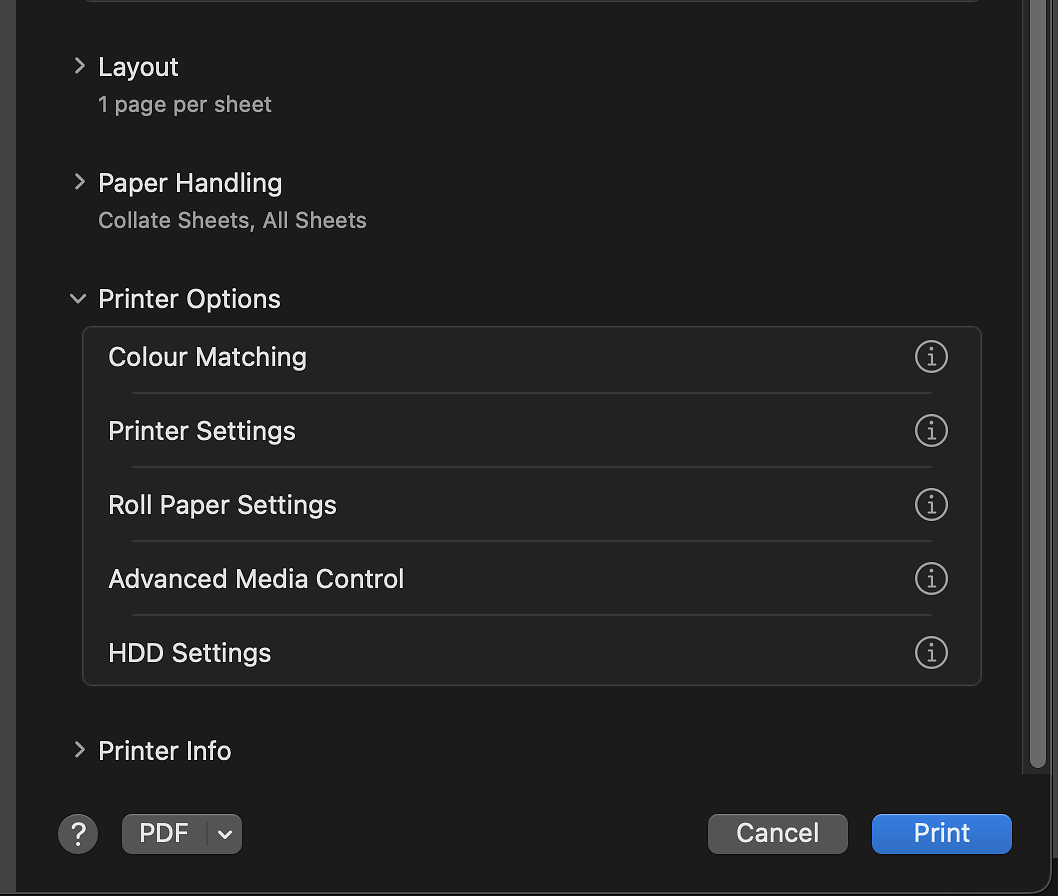
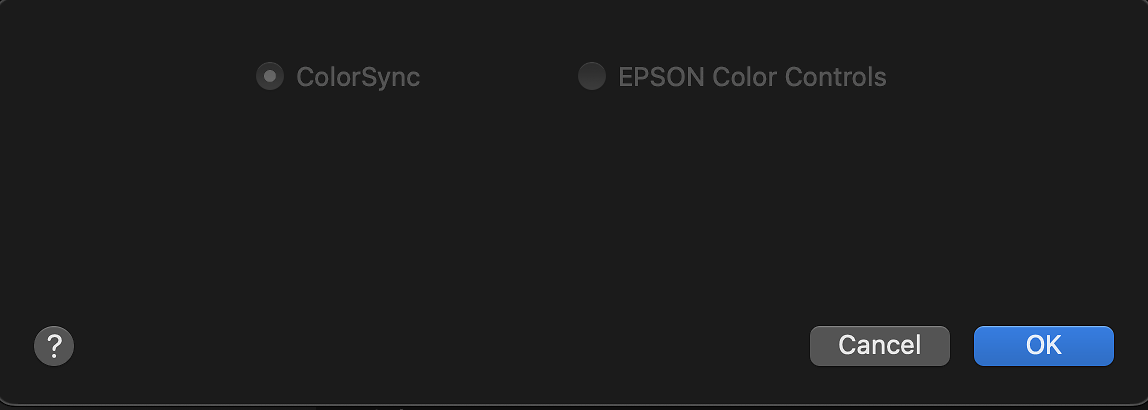
If you go into the ‘Color Matching’ tab you should see everything greyed out, but ‘ColorSync’ checked in the background:
Driver Settings
Next, go into the ‘Printer Settings’ > ‘Basic’ tab:
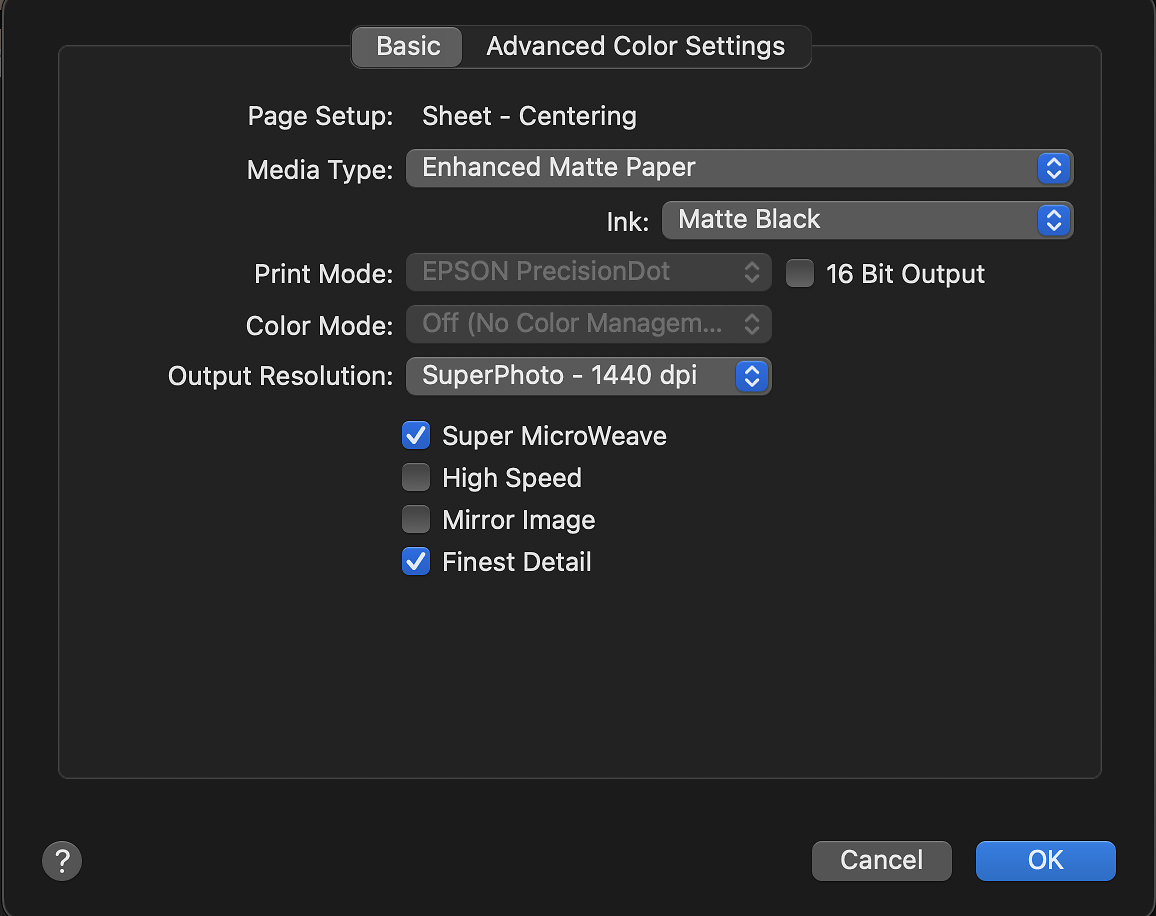
Choose the appropriate 'Media Type' as per our paper type setting guide for this - in the above example we are doing Hahnemuhle Photo Rag so 'Enhanced Matte' (or Archival Matte) is the most appropriate option. Also do just make sure that your ink selection matches your paper type (Matte Black for matte papers and Photo Black for glossy papers as a general guide).
Make sure 16 Bit is OFF, as this can cause bugs if on.
We have chosen an Output Resolution of 'SuperPhoto 1440' in this case, but you can choose whichever suits you best. Generally the highest or one step down from the highest quality level is appropriate. Note that generally your profile will work fine across quality settings, so if you change your mind once you’re printing with the profile, this should not cause issues.
Make sure Super MicroWeave is ON.
For High Speed, in general we recommend leaving this unticked. It makes no functional difference in regard to profiling, but can affect print speed as it toggles between uni-directional and bi-directional print head movement (again choose the best compromise between speed and quality).
Mirror Image definitely OFF.
Finest Detail you can choose ticked or unticked. Your printer is slower but sharper in finest detail mode. We recommend ticking it.
(Note: If these quality options are greyed out then most often these can be changed by selecting 'Quality Options' under the 'Print Quality' dropdown - this is not shown in our screenshot as it varies depending on driver version)
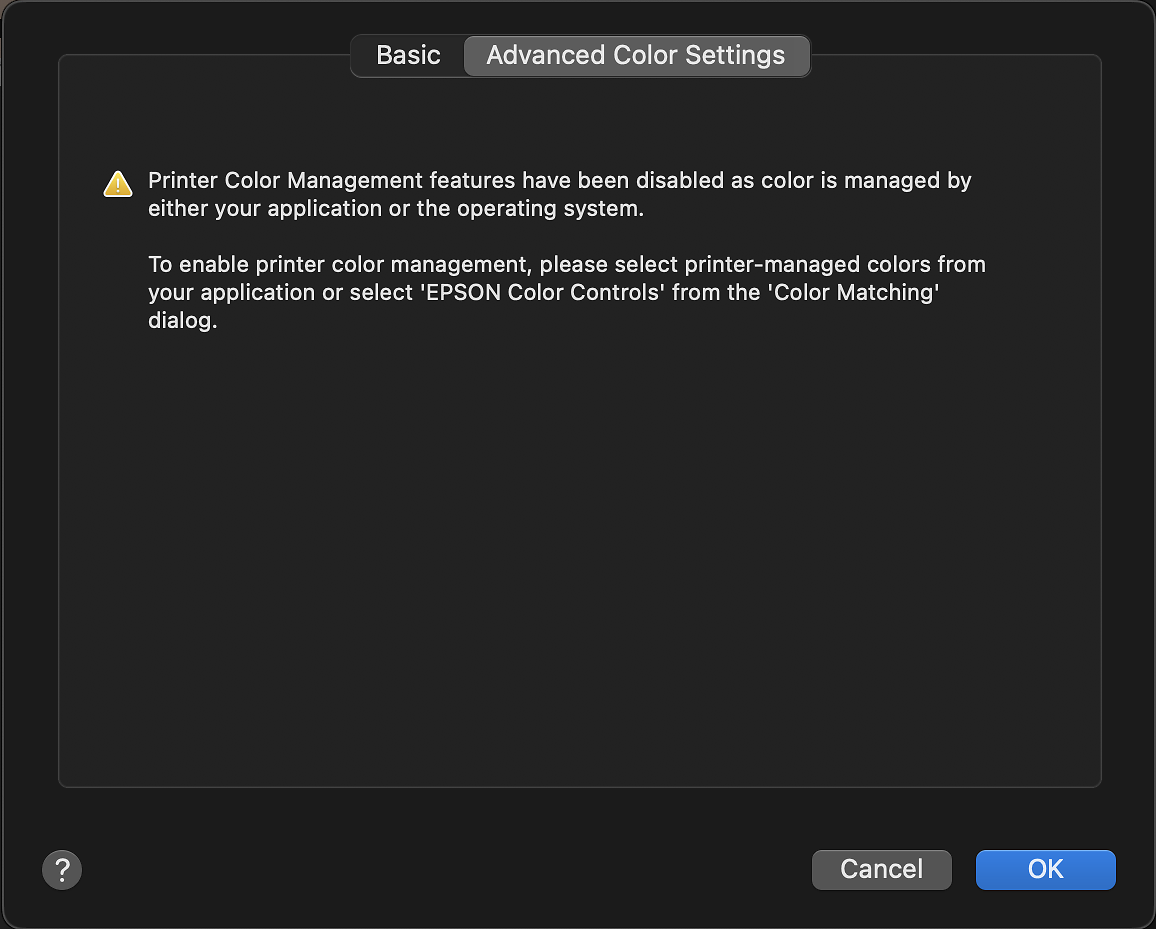
If you check in the ‘Advanced Color Settings’ tab you should see the (good) warning that colour management has been disabled:
Save Settings and Print Target
You can now click OK on each of your respective windows up to this point to get back to your main print settings window.
Save your settings once you are sure you have them correct.
Remember that when you get your profile back you will need to use exactly the same driver settings to print with, so the easiest approach is to save these settings now and then recall them later when you’re actually using the resulting ICC profile.
You can now go ahead and print your target image.
Notes for Canon Printers
For Canon Printer, the process can be slightly different, and varies depending on OS version.
If 'Print As Color Target' is unavailable, you will want to select:
- Colour: 'Hand Off To Printer'.
- From Printer Options > Colour Matching > select 'Canon Color Matching'.
- From Printer Options > Quality & Media > set Rendering Intent to 'No Color Correction'.
If this does not produce a good target as per Part 3 of our guide Evaluating Your Printed Target, then you may need to use the alternate method detailed below:
- From Printer Options > Color Matching > select ColorSync.
- Then from the dropdown box select 'Other Profiles' and choose a random RGB colour space (eg. AdobeRGB 1998).
- Go back to the main print window and the ‘Print as color target’ option should become active.
- Select it and then go back into the Color Matching panel and everything should be greyed out indicating no colour management is being used.
The Next Steps
It is very important that you now proceed to the Evaluating Your Printed Target guide to assess your printed target for correctness before sending it.
Remember, you must supply on a separate sheet your name, email address, printer model and full paper details.