Digital Asset Management and Workflow
An overview of Digital Asset Management best practices, software solutions, and workflow methodology.
Introduction
In this article I’m going to give you an overview of Digital Asset Management practices and solutions, and workflow methodology through my own practices as a photographer – the organisation and management methods discussed in this article are applicable to more than just photographers though. While it is a very factually grounded topic, it’s precise implementation in your workflow is very idiosyncratic so it’s vital that you develop a workflow that makes sense to you and is something that you can maintain over time using the principles and best practices that I will discuss.
Digital Asset Management is a major issue for the modern photographer. Whether you're a full time professional or a complete amateur, the images we make have real value, whether it be financial or sentimental. Anyone serious about protecting their investment should have a well-considered digital asset management policy in place.
A good digital asset management system will have four features:
- It must be easy to use, or you won’t use it.
- It must be physically fast, efficient and effective.
- It must be safe – i.e. truly redundant.
- It must offer fast access to your files when you're working on them, and if you need them again several years down the track.
There is much debate around manual vs software vs hybrid asset management. I acknowledge that for many people, Adobe Lightroom fits the bill as the perfect ‘all-in-one’ solution of asset manager, cataloguer, and editor. While it is a practical solution for much of asset management and editing, it is not and should not be your whole workflow. If it works for you, then implement it as a part of your workflow, just make sure you consistently maintain your organisation, naming and structures as discussed below.
I have developed a hybrid approach that leans slightly more manual, but incorporates both some automated aspects, but also a degree of manual flexibility and reliability – a pared-down bare-bones approach that lets me be agile and move and edit fast, without getting too bogged down in software or distracted.
Image Tagging, Keywords, and Metadata
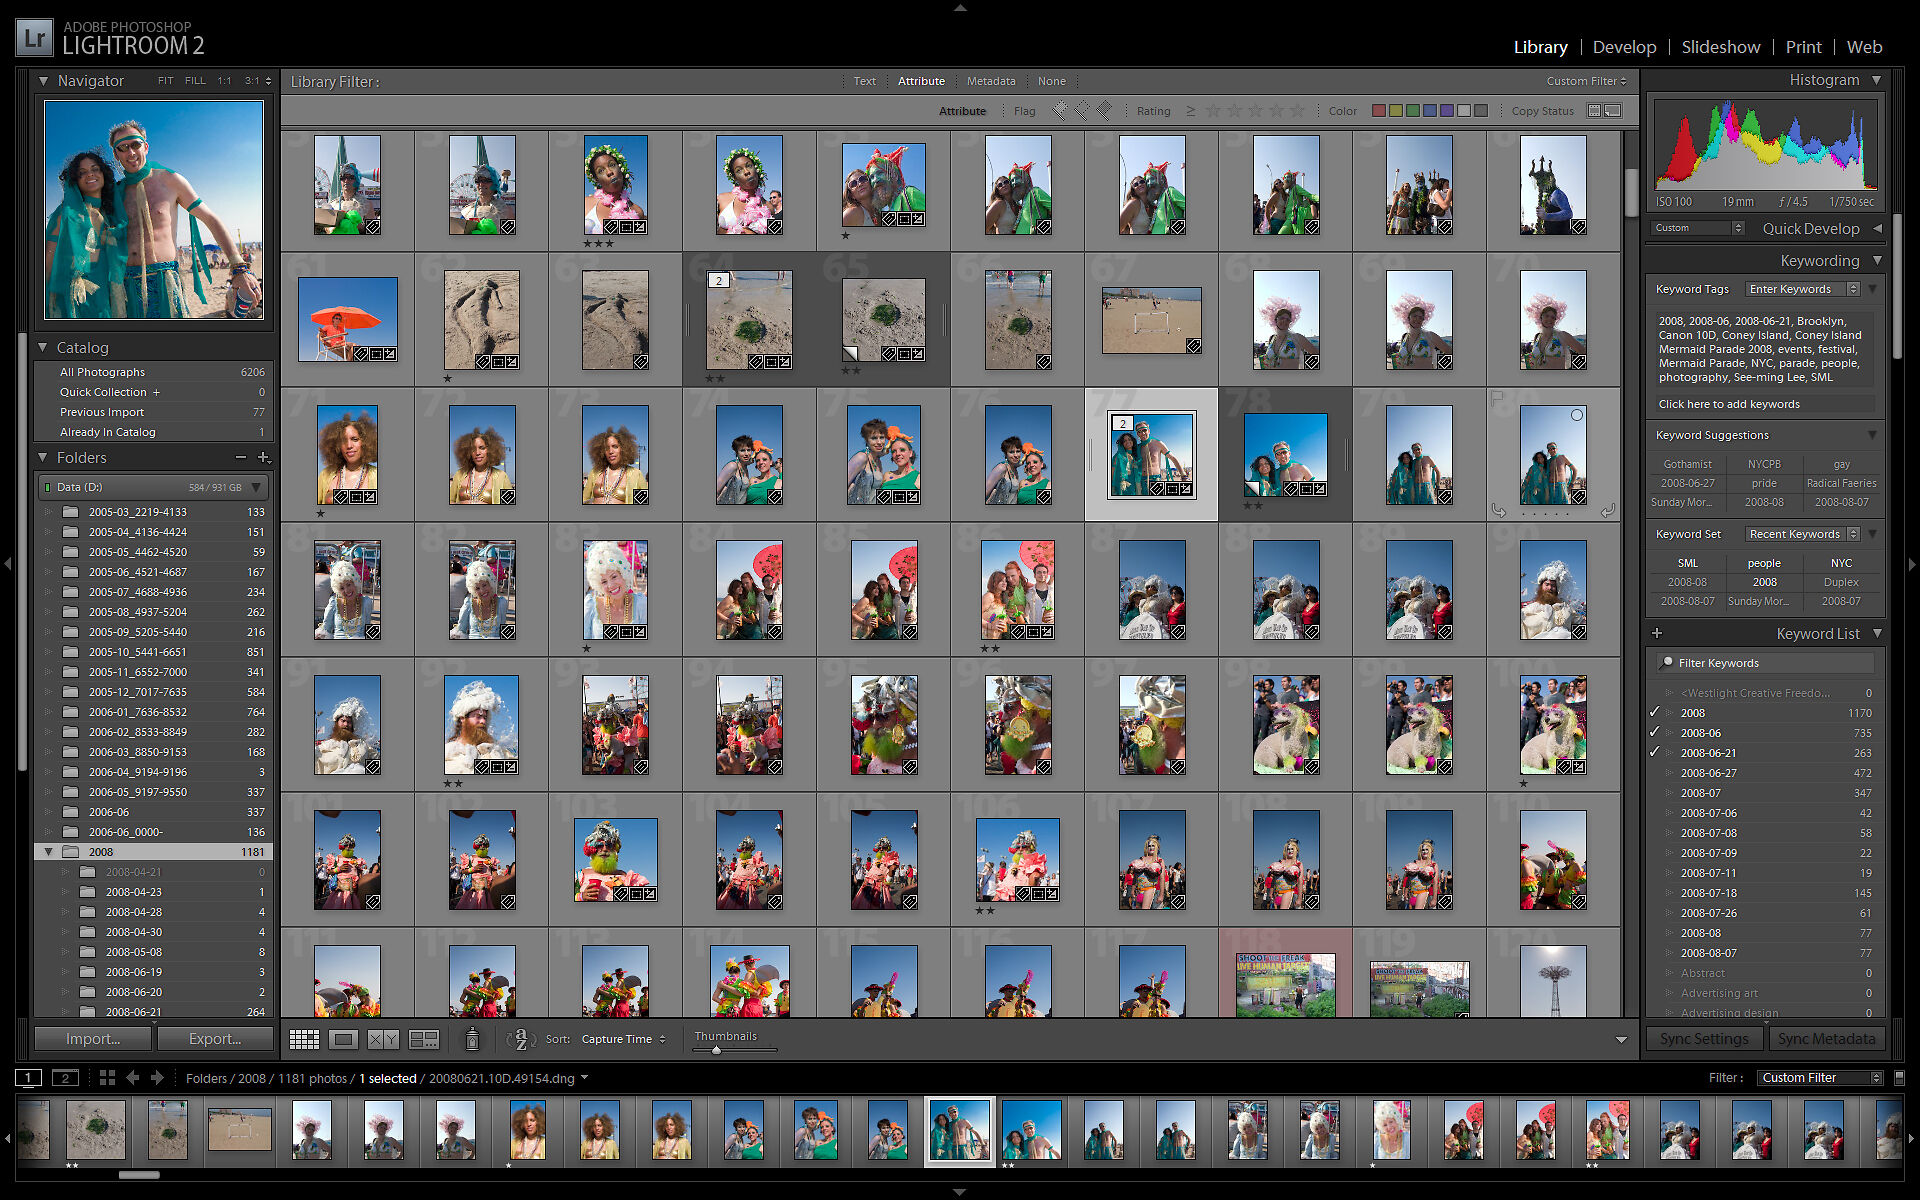
A tag is a word (or more often words) or phrase that is attached to an image in a piece of software that enables it to be searched for at a later time using normal natural language. Tags are a very useful and powerful way to keep your images organised and to assist you in easily and rapidly finding specific photos when you want them. Tagging is also essential if you want to contribute to online stock image licencing websites like Getty Images or Shutterstock. With your tagging, it’s important that you be relevant – less is more. Make your tags relevant to the meaning of the image or the central core ideas, subjects and aesthetics. There’s no point tagging an image with ‘carpark’ because there’s a carpark depicted very small in the background of your image. Don’t tag anything incidental or non-important to the image overall. A wedding photo of a couple embracing might get tagged with, for example; Wedding, Portrait, Bride, Groom, B&W, Love, Fitzroy Gardens. Within these tags you have identified Theme, Depiction, Aesthetics, Feelings, and Location. It makes it very easy in future to go back and search for both specific locations and broad categories that you’ve taken photos of/in.
Naming Conventions and Folder Structures

I am not going to repeat the contents of my article on Naming Conventions and Folder Structures here, but it is extremely important to understand naming conventions and folder structures and the reasoning behind why we do things a certain way before we progress further.
Consistency is Key! it is important to develop, implement and consistently maintain your naming conventions, folder structures, and workflow. It’s essential that you develop a workflow that makes sense to you and is something that you can maintain over time. If your workflow is too complicated, then you’re not going to stick to it.
Please go read that article before going any further.

General Methodology
Shoot
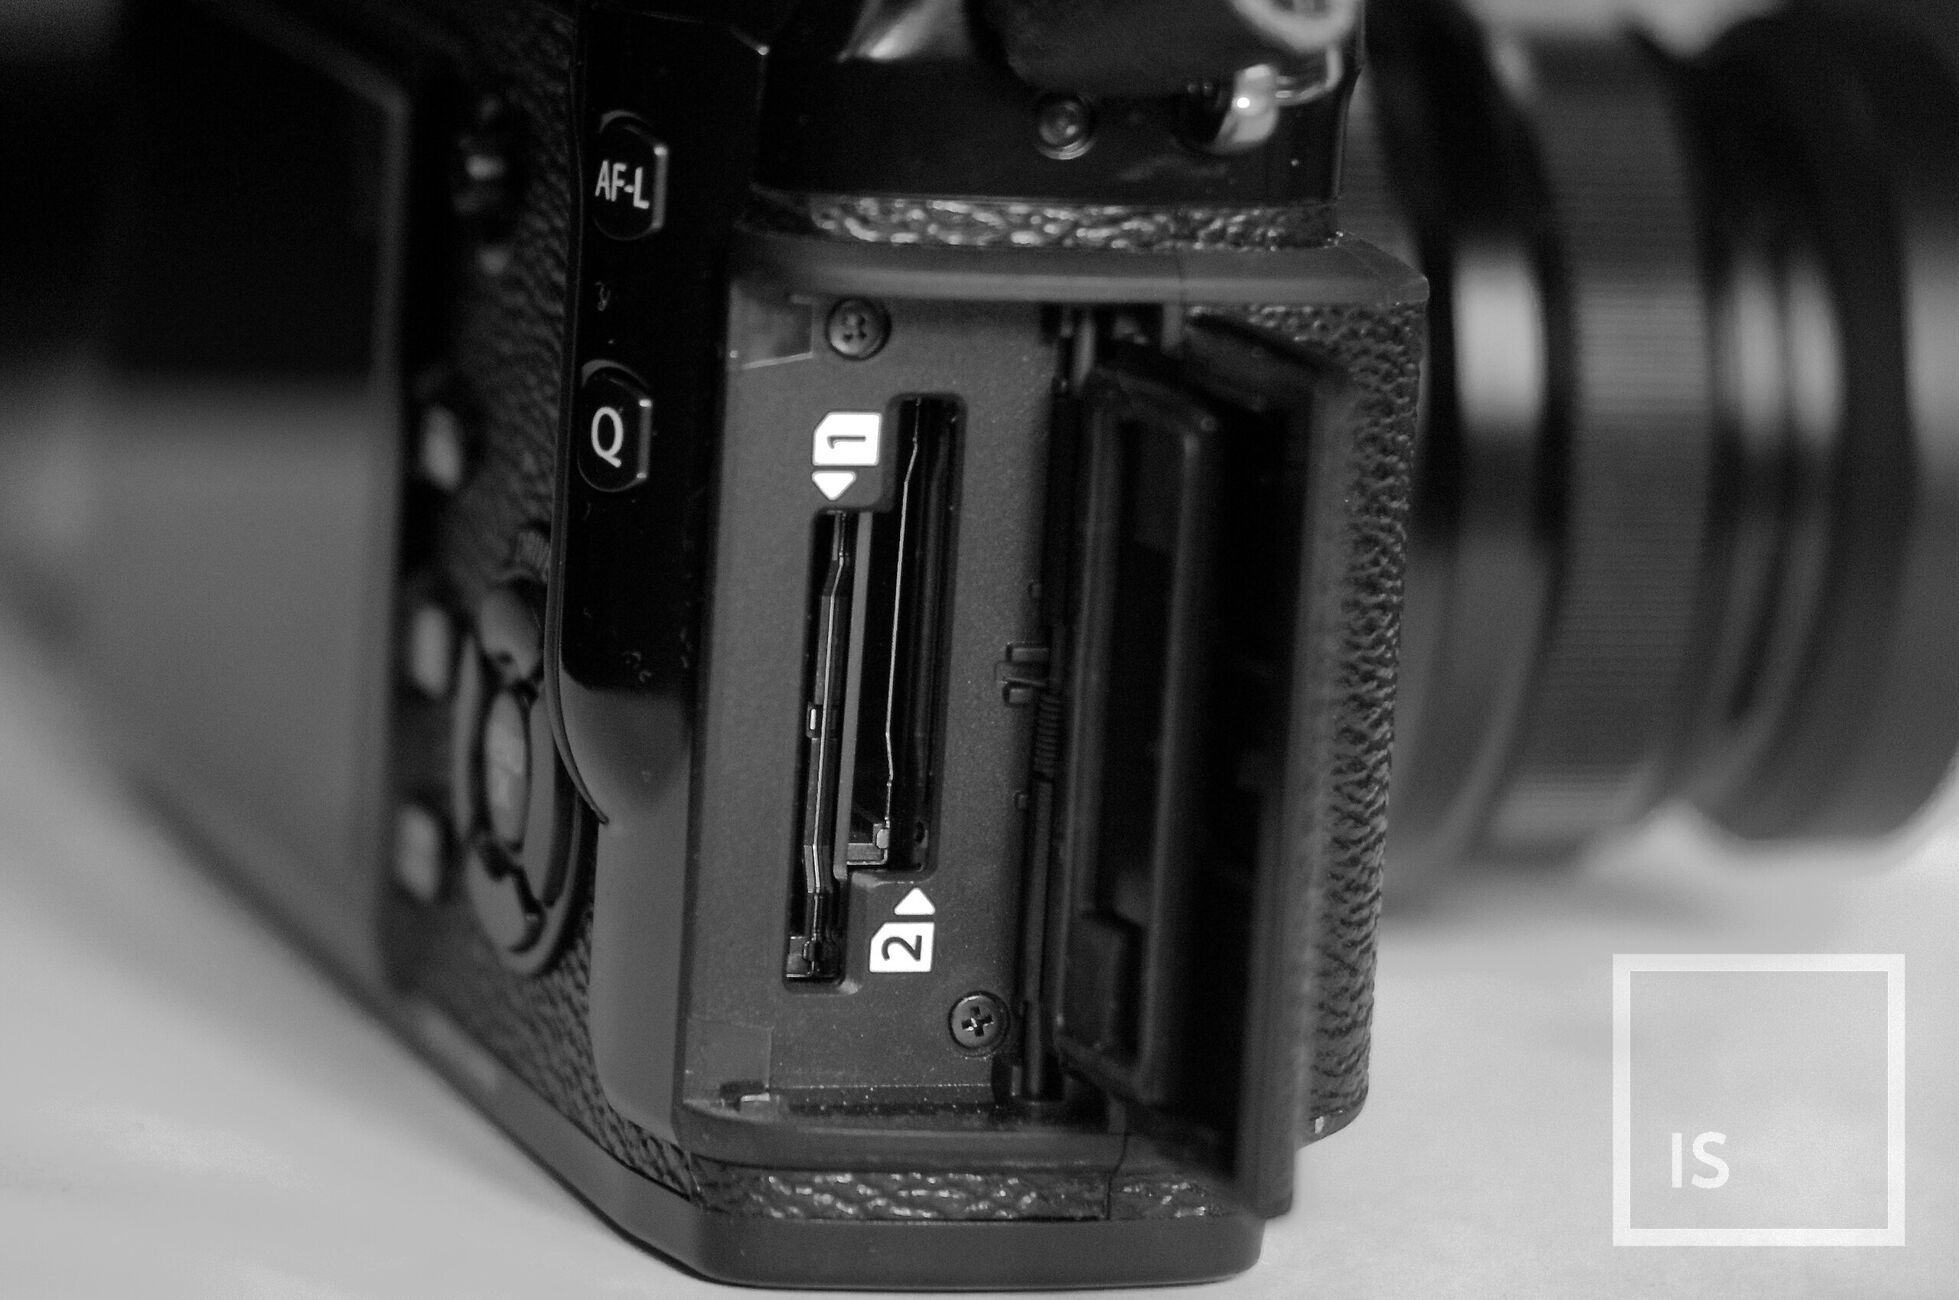
Use dual cards for an in-camera backup, keep one of them in your pocket coming back from job just in case your gear gets stolen, or you’re involved in a car crash – as least you’ve got a copy on your person.
Setup Project Folder
Setup your Project Folder on your drives (working and backups) according to your naming conventions and folder structure (e.g reverse date, descriptive name, then RAW, FINAL, WEB, WM, PRINT etc within).
Offload, Ingest, Organise
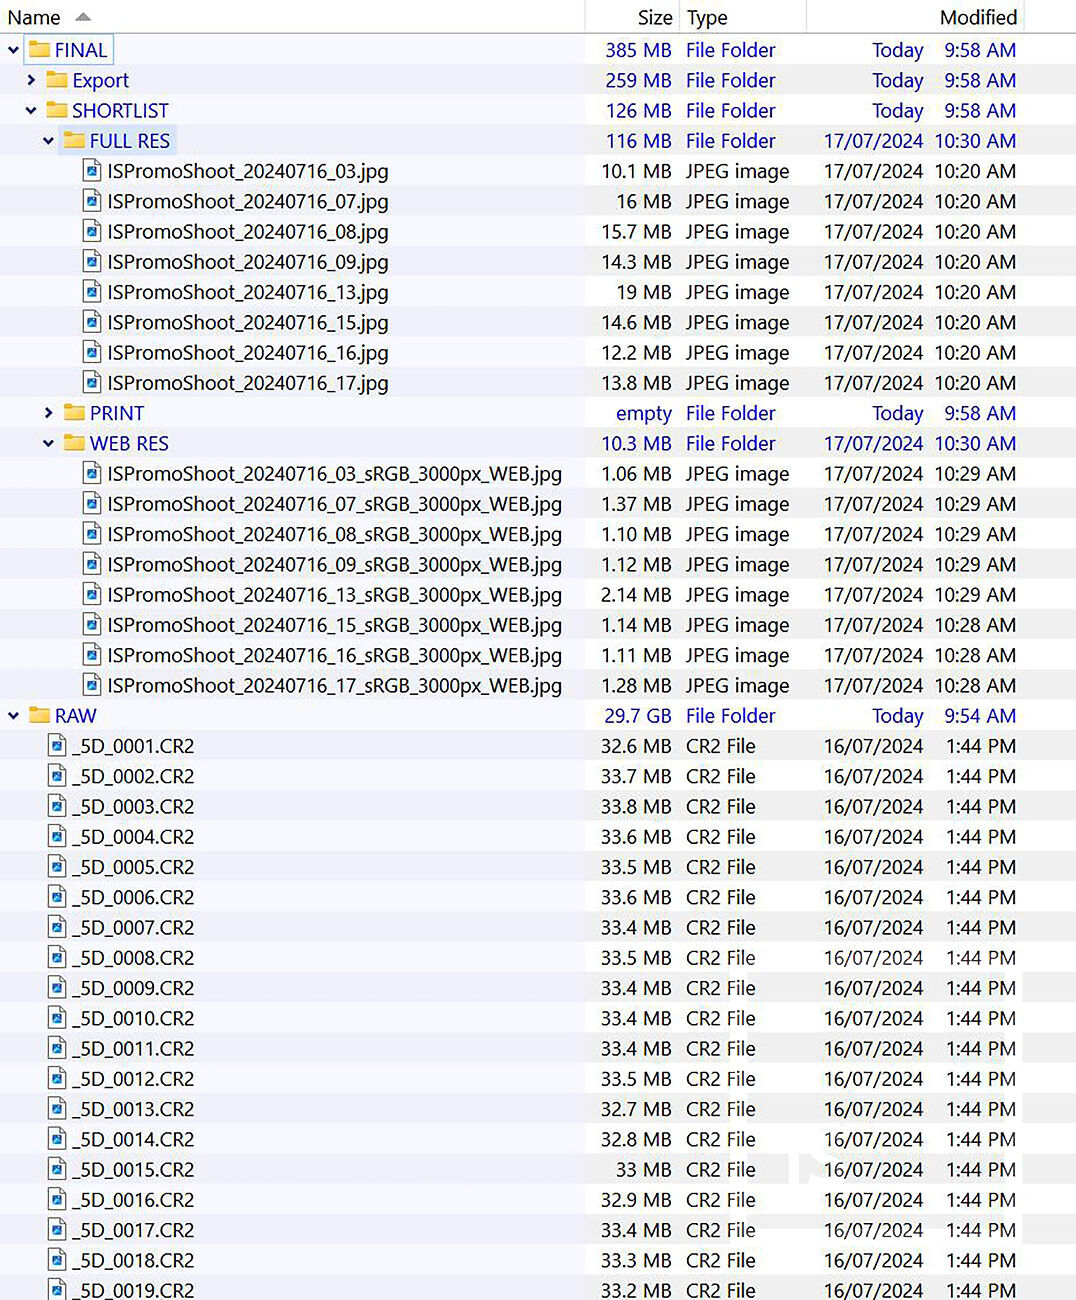
Whether manually through Finder or Explorer, Lightroom, a DAM of your choice, or using something like Hedge (more on this later), copy (don’t move!) all your RAW files from your camera card to multiple destination drives/locations (working and backup drives) project folders so that you instantaneously have a backup should anything go wrong.
Shortlist/Cull
On your ‘live’ working drive it’s time to cull down your shots, whether through Lightroom or Bridge with flagging, star ratings or colour labels, or through Finder tags, or through a DAM of your choice, most people choose to take a couple of passes at their shortlisting. Your first pass may be removing any seriously defective shots (closed eyes, out of focus, majorly incorrect exposure), your second pass will refine more and give you a shortlist to edit from (refining things like composition, framing, choosing one frame out of a few duplicates). See the section below about Fast Culling Software also.
Edit
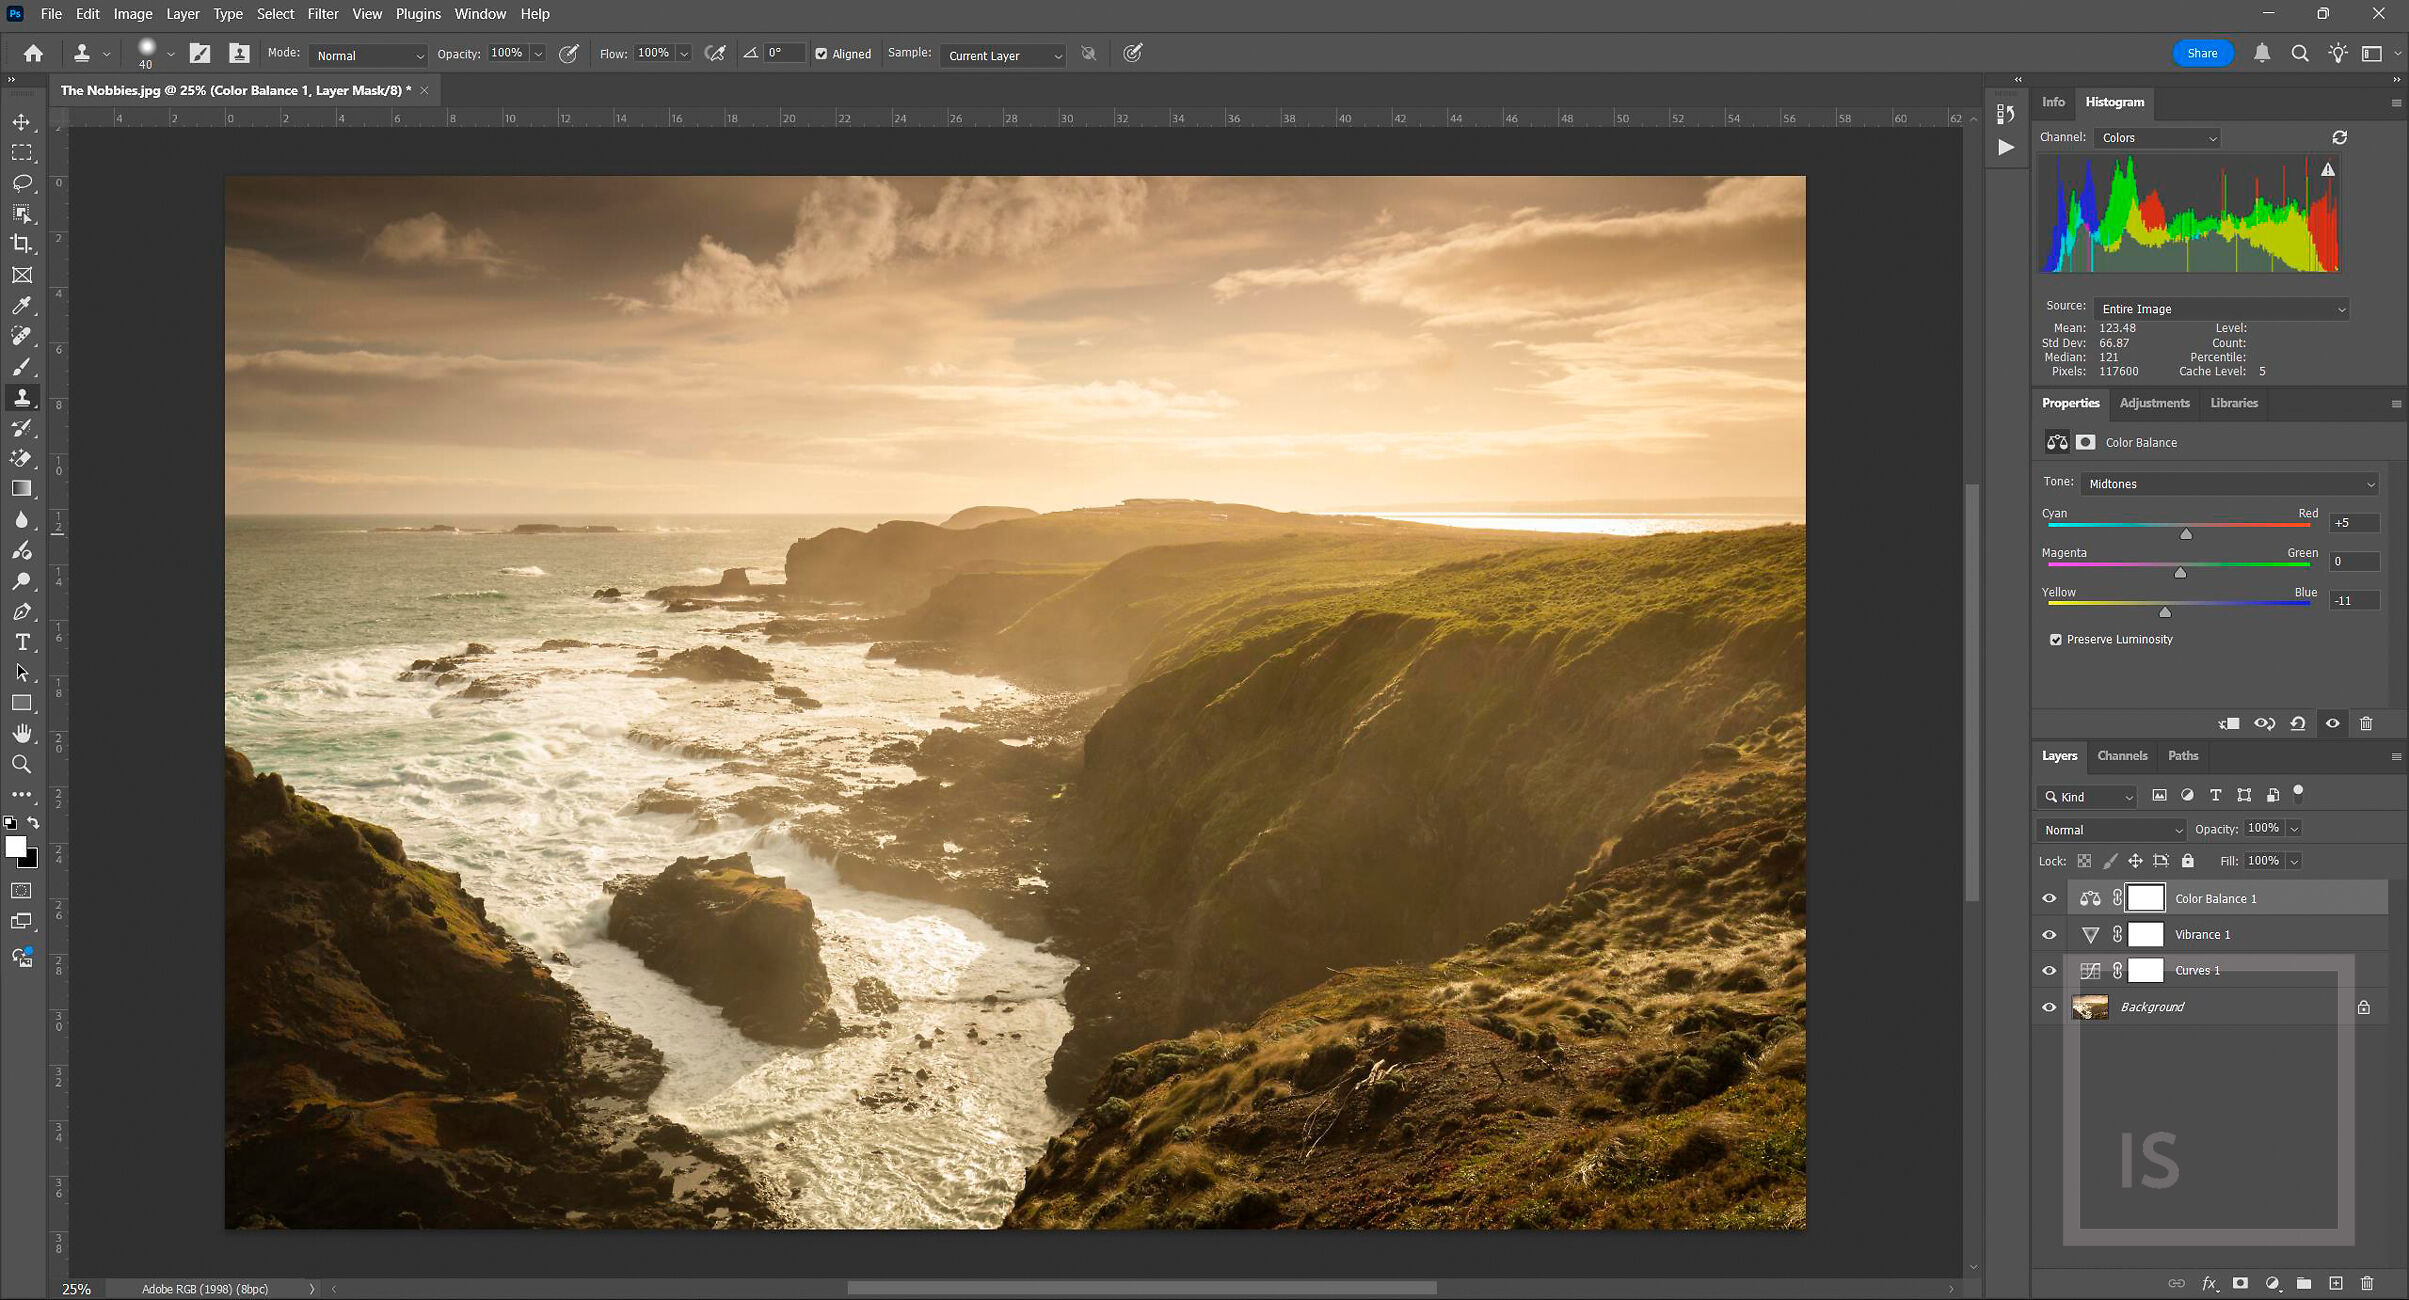
Edit your shortlisted selection in your software of choice – Lightroom, Photoshop, Camera Raw or other. You will inevitably find some images better than others, you’ll often find that while editing you’re still refining your selection down in a third pass. Where you end up with your shortlist at the end of editing will form your final export of your ‘final’ shots to be supplied to clients.
Export/Save
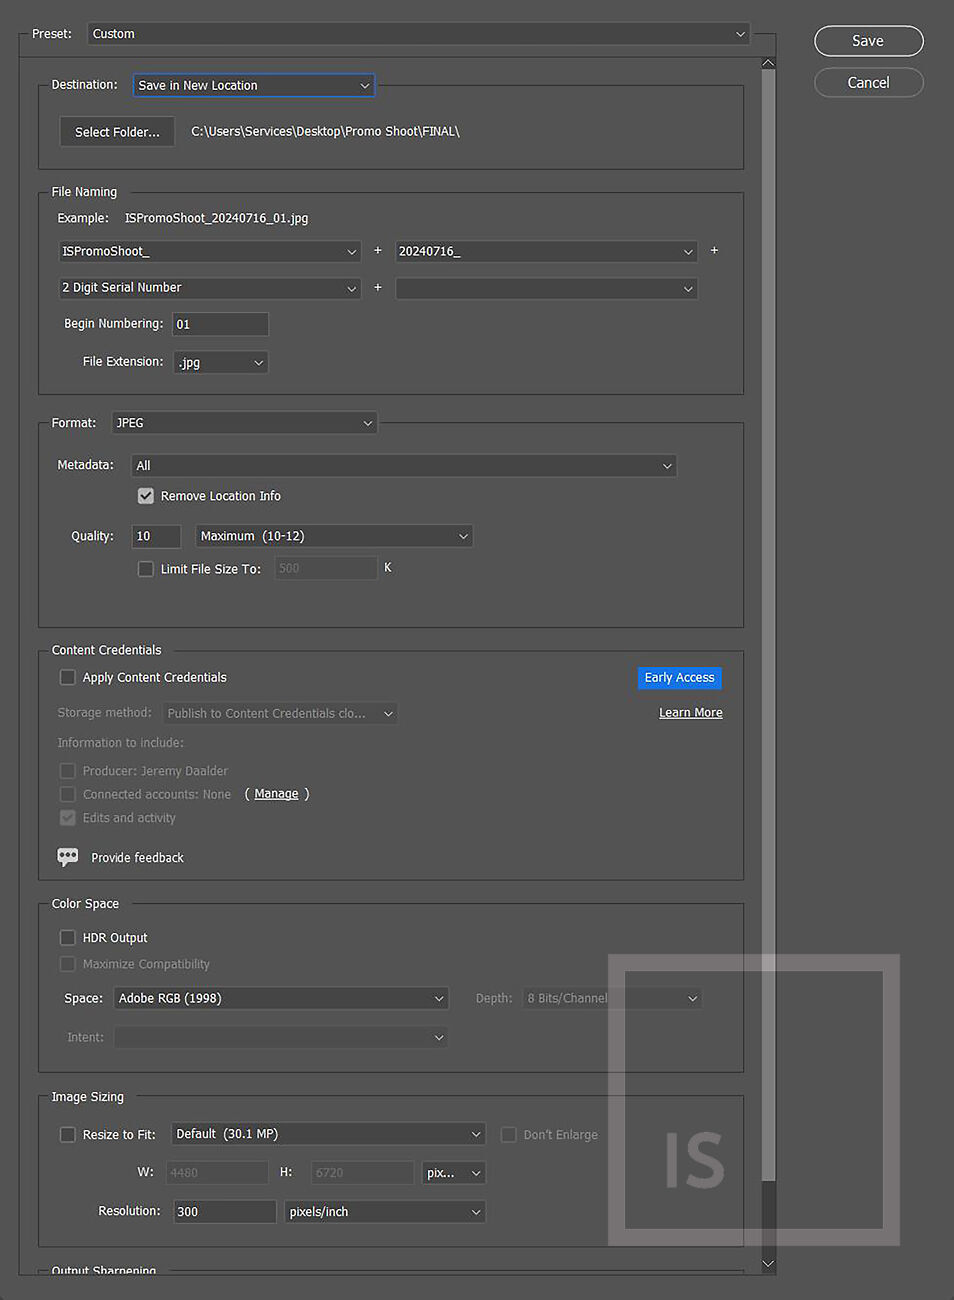
Save or export your final edited selection back into the ‘FINAL’ folder of your project folder on your working ‘live’ drive. Now is the time to export other versions as well (such as WEB or WM) to their respective folders.
Backup/Archive
Immediately after you’ve exported your final edited selection back into the ‘FINAL’ folder of your project folder on your working live drive you should copy to your backups. Immediately! Don’t forget your offsite backups and/or cloud drive. More on this below.
Jeremy's Take
For a more Lightroom-centric workflow model that covers some good backup practices I recommend you read Jeremy's article on Setting Up Effective Backup Systems for Digital Images below.
The 10% Rule
An important note on your culling/shortlisting. You’ve got to take photos to get photos. It’s no good just taking one shot of a subject and calling it good. In the modern world of professional digital photography there’s something called the 10% rule.
That is, that for all of the photos that you are taking, that 10% should be usable. Not necessarily good, not necessarily keepers, just usable. It’s a rough guide, but for every 1000 photos you take, around 100 should be usable. Out of this, 50-75 might make the shortlist to be edited, 15-30 might be supplied to the client, 5 might be really good, and if you’re lucky 1 or 2 might be ‘hero’ portfolio shots. T
his will vary somewhat depending on the subject matter, area of photography and skill of the photographer, but it’s a rough guide to show you that you’ve got to take many photos to get good photos.
Fast Culling Software
If you are a person who uses a dedicated DAM (Digital Asset Manager) such as Lightroom to manage your library of photos, it can be a good idea to only import into your catalogue the raw files that pass a minimum quality level. Like we talked about above, a majority of your photos will be no good and of no use. By immediately disregarding any seriously defective shots, such as those with closed eyes, those that are out of focus, or have majorly incorrect exposure you are decreasing the workload on both yourself and your machine, minimising the size and complexity of your catalogue of photos, and making future retrieval easier.
Often the best way to make this initial assessment and is using a ‘Fast Culling’ program such as FastRawViewer - my recommendation for this type of software, but also the likes of AfterShoot, FastStone, FilterPixel, or BreezeBrowser. These apps allow you to move very quickly through a large number of raw files and rapidly assess whether they are worth further consideration by proper ingestion/importation into your DAM of choice.
Directory Opus

Mighty and nimble, Directory Opus is, no question, the best and most useful piece of software I've ever bought.
- Jeremy Daalder
We thoroughly recommend checking out Directory Opus, an indispensable piece of Australian made software that makes so many tasks easy and quick. It's such a powerful and feature-rich file manager that there's simply nothing that compares. Ready more about it in Jeremy's spiel below.
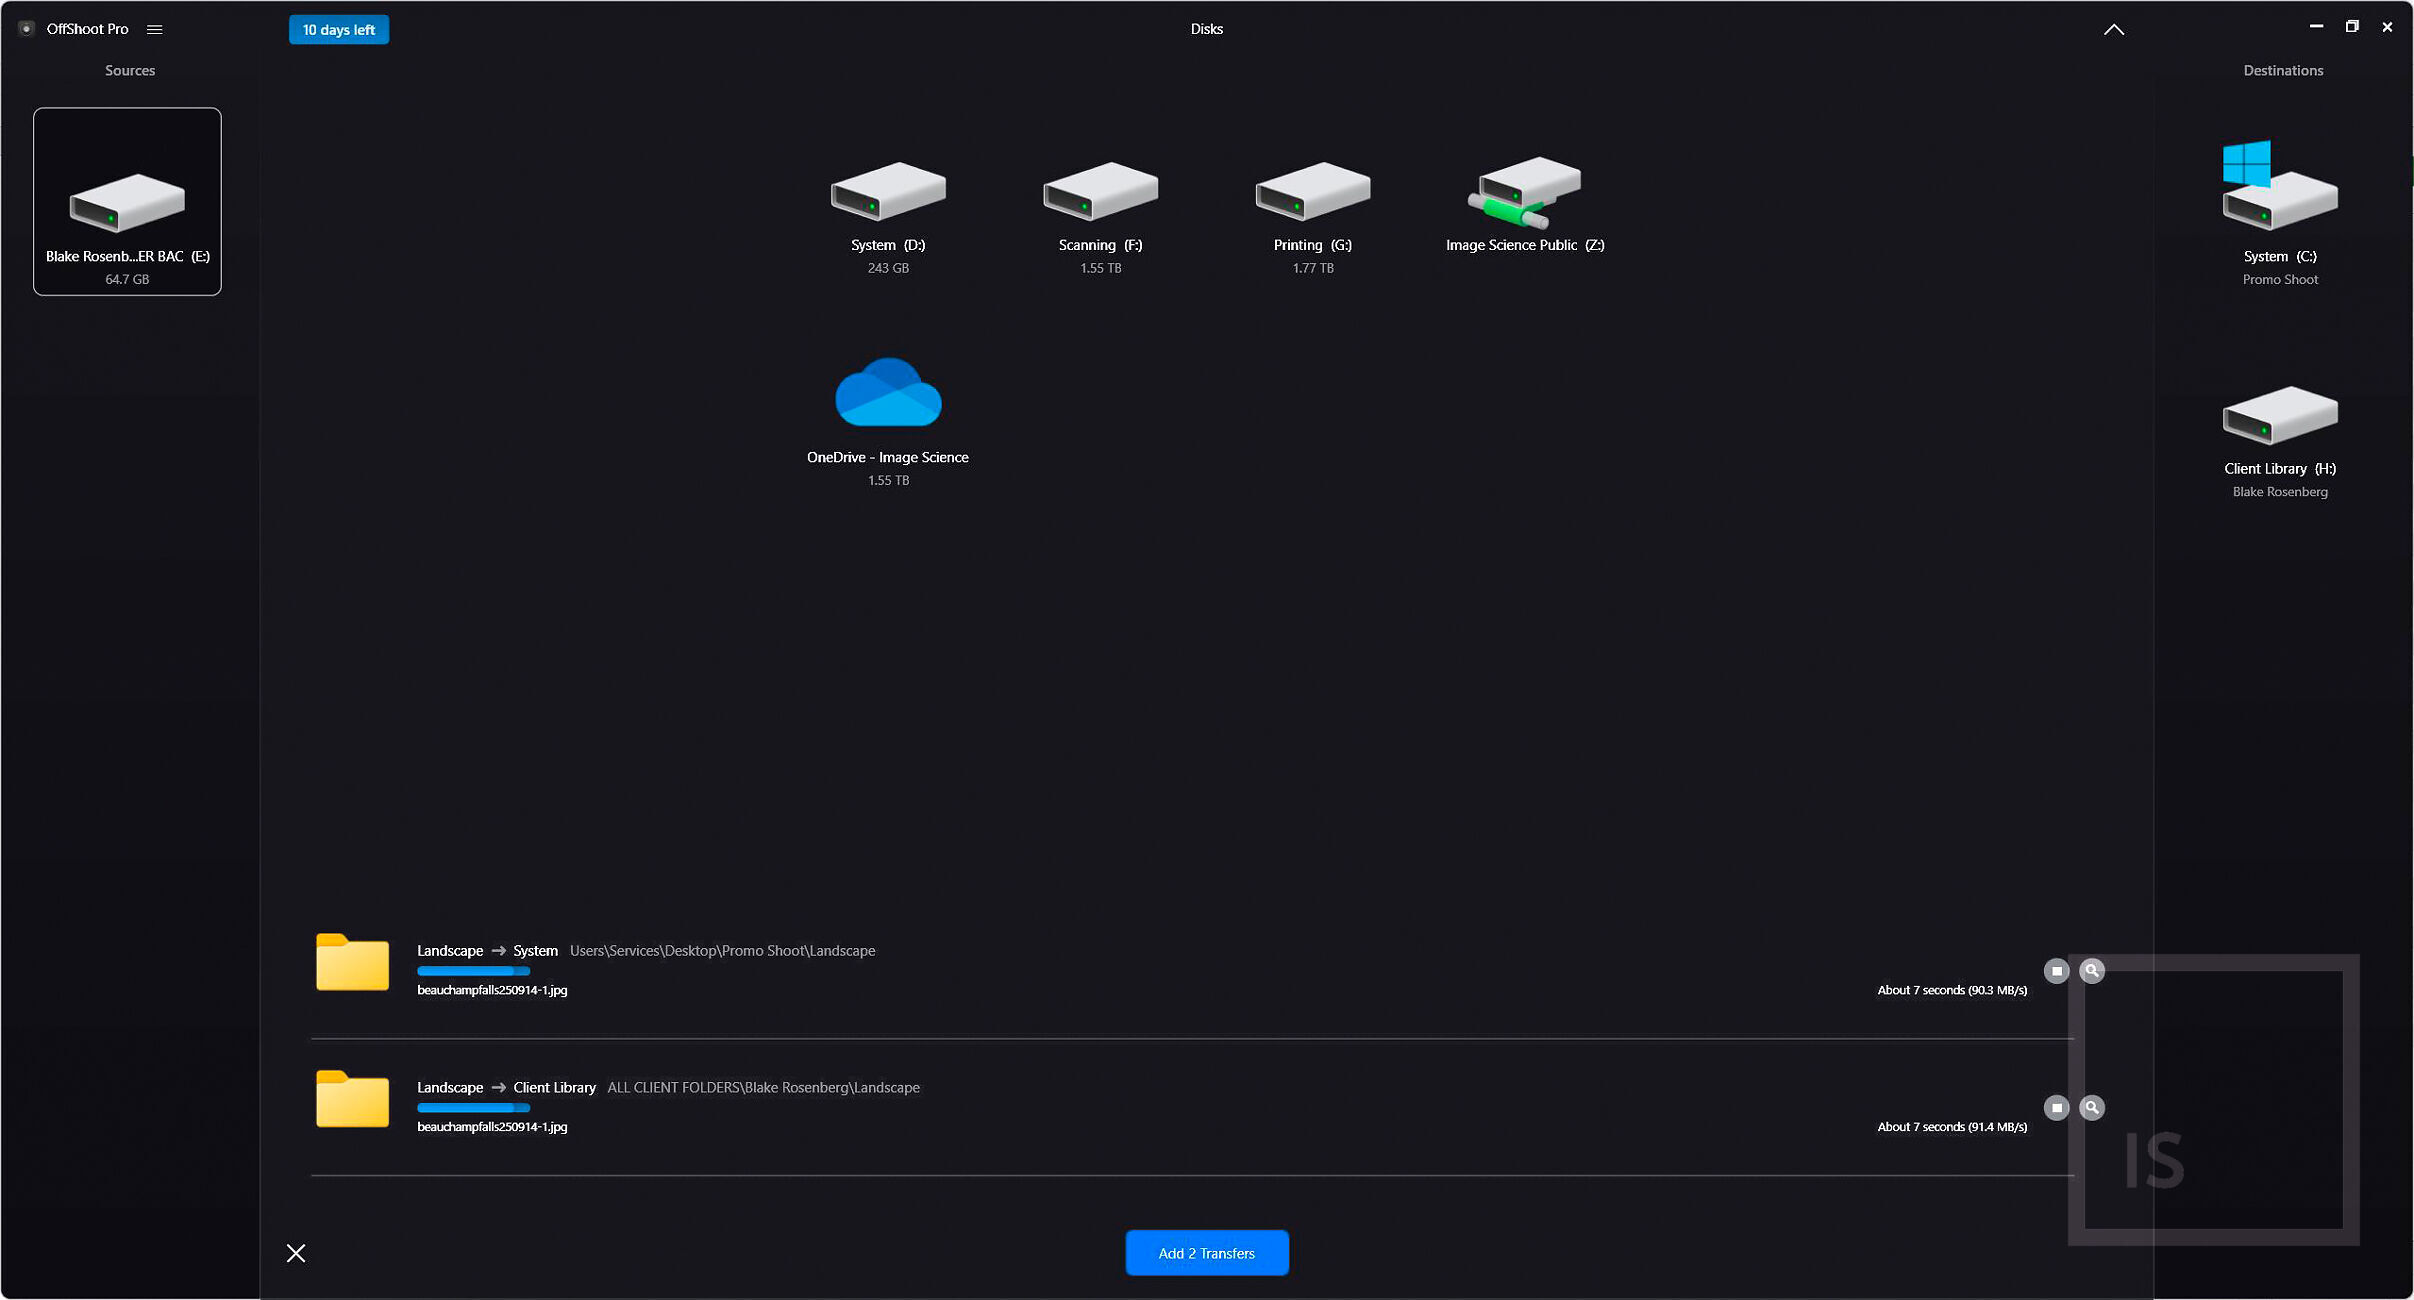
Offshoot
Offshoot (formerly Hedge.video) is a wonderful piece of software that has revolutionised my image offloading, ingestion and organisation workflow. It’s an incredibly powerful, fast, and secure copy, backup and archive solution that was born out of the taxing needs of the film industry and its Digital Image Technicians.
Offshoot is born of a simple premise – to safely copy large amounts of data from one place to another fast. And it does it spectacularly well. Every transfer done through Offshoot is checksum verified to ensure that every byte of data made the journey safely with no corruption or losses. It does multiple simultaneous transfers lightning fast thanks to its Speed 2.0 Engine. In testing Offshoot can be 20% faster per discrete transfer over Finder, Explorer or competitors like Shotput Pro or Silverstack. It employs Checkpoint 2.0, a full source integrity engine – not only destination checksum verified (XXH), but with a full source integrity engine to verify your source data as well as look for faulty source hardware. It also gives an MHL list of verified checksums for accountability.
Most importantly for me it does batch renaming, filtering, and labelling, and has complex folder structure support to automatically sort source media in a user defined way (through elements and presets) into a user defined destination folder structure. It is extremely flexible with NAS, SAN, RAID and thunderbolt support. It also has full integration with finder and explorer for ease of workflow, usability and speed.
My Personal Workflow In Detail
As discussed earlier I have developed a hybrid management approach that leans slightly more manual, but incorporates both some automated aspects, but also a degree of manual flexibility and reliability – a pared-down bare-bones approach that lets me be agile and move and edit fast, without getting too bogged down in software or distracted. This is my workflow, it is unique to me and my needs, take it as inspiration to give you ideas to form part of your own workflow and management approach.
Shoot
I write to dual cards for an in-camera backup.
Folder Creation
As mentioned earlier, I divide my workflow into two streams – Personal and Business. I have two small apps I’ve written that sit on my desktop. When either is double clicked a dialog box opens the prompts me for my project folder name ([YYYY-MM-DD] Client Name or Shoot or Location), it then automatically makes a project folder on my Live File SSD, Photo Archive, Photo Archive Backup and Final Master Internal – in either Personal or Business folders depending on which app was clicked – and my standard folder structure (RAW & FINAL + WEB, WM, & PRINT where needed).
Offshoot Import
Next I use Offshoot to simultaneously transfer from my card to the 'RAW' folder in each of my Project Folders on my Live File SSD, Photo Archive, and Photo Archive Backup. As it’s doing this, it renames each of my raw files by adding the reverse date to the start of the existing name. My camera has already been changed to call my files _5D_1234.CR2, so I end up with, for example, 20230212_5D_1234.CR2 – a unique name that will never be repeated.
Shortlist / Selection
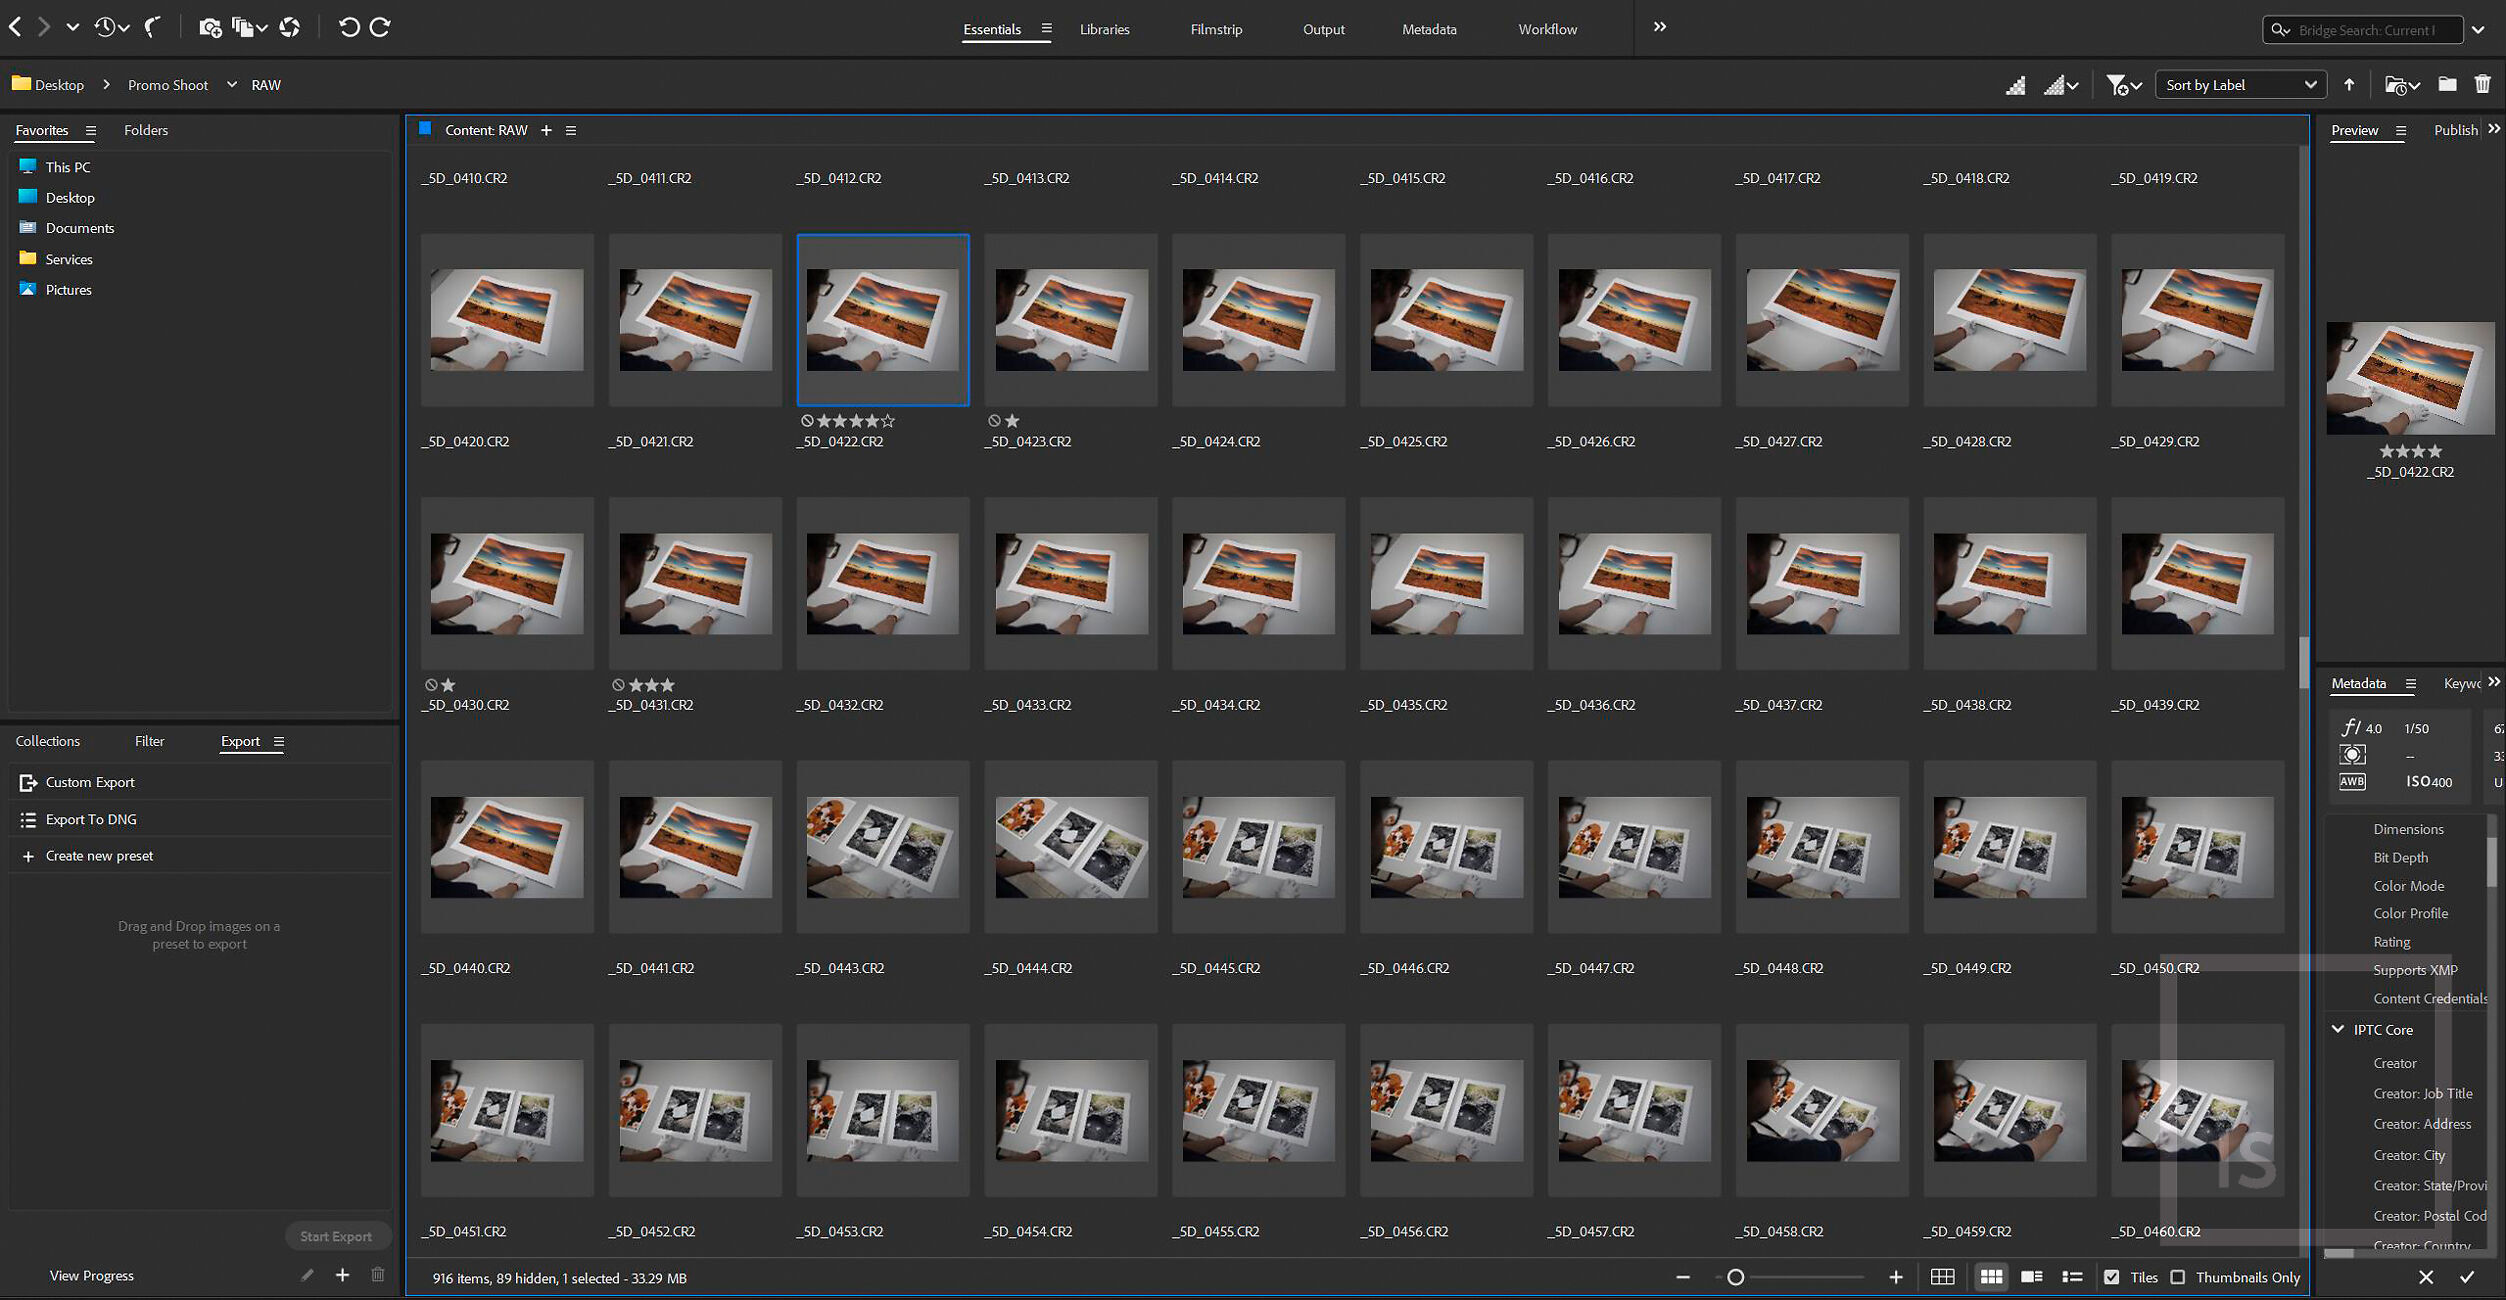
From here, I work on my shortlist / editing selection from within Finder. Working on my Live File disk I do a first pass by rating promising images - first looking for major defects (like closed eyes, out of focus, horrible exposure), and then weeding out multiples in a series by most aesthetic/stylistic choices (composition, framing, colour). I do a second pass of this rating within my editor by star rating and colour label.
Editing
Editing from my Live File SSD, I open my shortlisted selection in Camera Raw (my chosen and preferred editor), and have a look through some properly rendered versions to make a more refined assessment and make a second pass of rating. I do my editing on the images I have chosen, and then after editing all of those, I go back and remove any that I’m not happy with or are duplicates of better images. Finally I export full res JPEGS back onto my Live File drive Project Folder > FINAL.
Backup / Distribute / Sync 'FINAL'
From here, I use Hedge to copy Live File’s project folder’s 'FINAL' to each Project Folder in Final Master Internal and 'FINAL's on Archive & Archive Backup. Also to Live File SSD Final Master; Photo Archive Final Master; Photo Archive BU Final Master. Finally I have another small app that activates a sync of the new project folder in my Internal Final Master to my cloud drive (OneDrive). Periodically I transfer my final master updates to my two cold offsite drives.
Summary
Whether you use a manual, automatic or hybrid approach to digital asset management, it’s vitally important that you develop a workflow that makes sense to you, and above all else is consistent. Be consistent with your naming conventions, be consistent with your folder structures, have unique and collision-resistant file names (particularly for easily duplicated files such as RAW files), have redundant backups of your images and remember that a good digital asset management system/workflow will have four features:
- It must be easy to use, or you won’t use it.
- It must be physically fast, efficient, and effective.
- It must be safe – i.e. truly redundantly backed up.
- It must offer fast access to your files when you're working on them, and if you need them again several years down the track (think tagging or robust FNC).
Useful Software
- Adobe Photoshop
- Adobe Camera RAW
- Adobe Lightroom
- Adobe Bridge
- Darktable
- RawTherapee
- digiKam
- Offshoot (Hedge.video)
- Directory Opus
- FastRawViewer
- PhaseOne Capture One Pro
- Filecamp
- ACDSee
- Luminar Neo
- DxO PhotoLab 6
- Photo Mechanic
- iMatch
- MediaValet
- Acquia (formerly Widen Collective)
- Nektony Duplicate File Finder
- AfterShoot
- FastStone Image Viewer
- FilterPixel
- BreezeBrowser Pro
- Exposure Software